
As a Software developer working with Django REST Framework and Djoser, I’ve often noticed a common issue among fellow developers: getting email activation links to correctly redirect users to the frontend. By default, Djoser sends an activation link with the backend URL (something like http://localhost:8000/activation/?uid=...&token=...). This is fine if you’re only working with a backend interface, but when there’s a React or Vue frontend involved, this setup falls short.
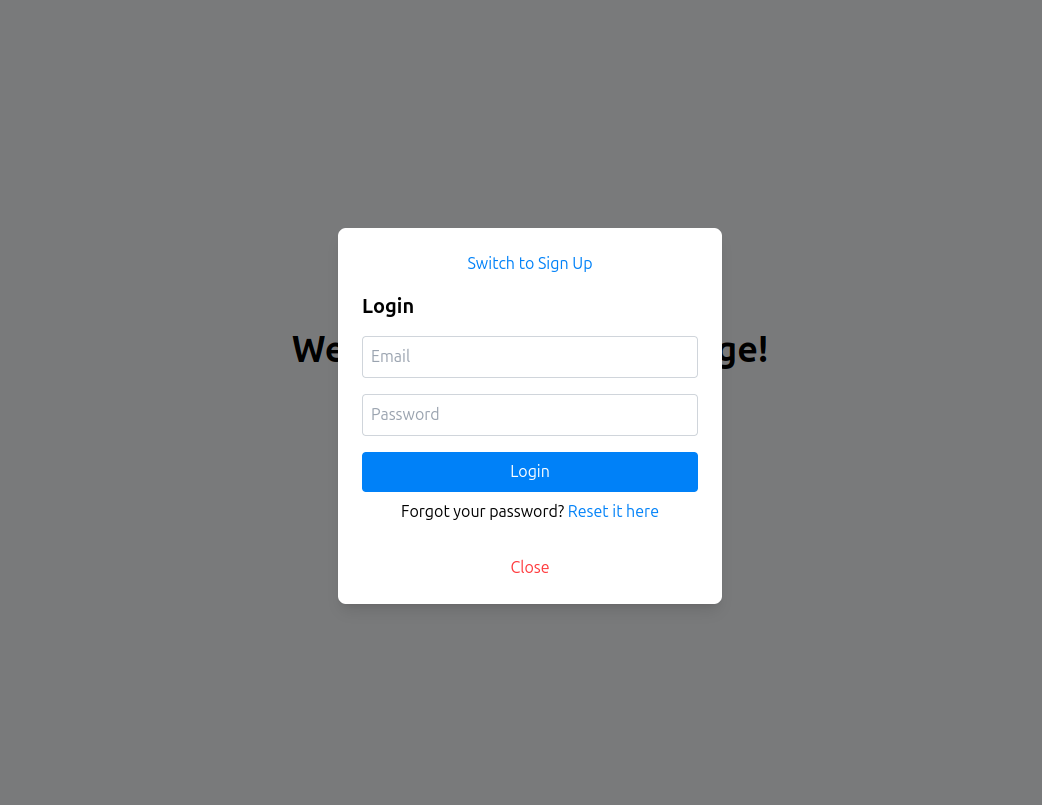
The problem is simple yet frustrating. A user signs up, receives an activation email, clicks the link — only to be taken to the backend server (which is not where they need to be)! Ideally, that link should lead to http://localhost:3000/activation/... for a React frontend or http://localhost:8080/... for a Vue frontend, where users can complete activation in a polished, user-friendly interface.
I’ve seen countless questions about this in forums, and though there are a few workarounds out there, I haven’t come across a complete guide that walks through how to set up email activation and password reset in a way that integrates smoothly with both Django and a separate frontend. After solving this issue myself, I decided it was time to share a straightforward guide to help others avoid the same headache and get their APIs production-ready with best practices.
In this guide, I’ll walk you through configuring Djoser to send activation links directly to your frontend and handle password resets in a way that ensures a seamless experience for your users. Let’s dive in and make Django +Django REST Framework + Djoser, and JWT a hassle-free setup for your backend project.I will assume you have Python installed on your machine and are familiar with Django, Django REST Framework, and basic Linux commands.
Let’s start by creating a project directory called signup_form and navigate into it.
mkdir signup_form
cd signup_form
Create and activate a virtual environment:
python3 -m venv venv
source venv/bin/activate
Install Django in the virtual environment:
pip install django
Now, create the Django project within the directory:
django-admin startproject signup_form .
Verify the project runs correctly by starting the development server:
python manage.py runserver
Visit http://localhost:8000 in your browser to confirm the setup. If everything is working, stop the server and proceed.
Install Django REST Framework, Djoser, and SimpleJWT:
pip install djangorestframework
pip install djoser
pip install djangorestframework_simplejwt
Open your settings.py file, add rest_framework and djoser to the INSTALLED_APPS, and configure the authentication settings as shown below:
INSTALLED_APPS = [
    ...,
    "rest_framework",
    "djoser",
]

REST_FRAMEWORK = {
    "DEFAULT_AUTHENTICATION_CLASSES": (
        "rest_framework_simplejwt.authentication.JWTAuthentication",
    ),
}
DJOSER = {
    "LOGIN_FIELD": "email",
    "SEND_ACTIVATION_EMAIL": True,
    "ACTIVATION_URL": "auth/users/activation/?uid={uid}&token={token}",
    "PASSWORD_RESET_CONFIRM_URL": "auth/users/reset_password_confirm/?uid={uid}&token={token}",
    "SERIALIZERS": {
        "user_create": "core.serializers.CustomUserCreateSerializer",
        "current_user": "core.serializers.CustomUserSerializer",
    },
}
SIMPLE_JWT = {
    "AUTH_HEADER_TYPES": ("JWT",),
    "ACCESS_TOKEN_LIFETIME": timedelta(minutes=60),
    "REFRESH_TOKEN_LIFETIME": timedelta(days=1),
}
# Set the frontend domain for email links
DOMAIN = 'localhost:3000'
Add email configurations to settings.py (replace placeholder values with your email provider's details):
EMAIL_BACKEND = "django.core.mail.backends.smtp.EmailBackend"
EMAIL_HOST = "your_email_host"
EMAIL_PORT = your_email_port
EMAIL_USE_SSL = True
EMAIL_HOST_USER = "your_email"
EMAIL_HOST_PASSWORD = "your_password"
DEFAULT_FROM_EMAIL = "your_default_email"
ADMIN_EMAIL = "your_admin_email"
In your urls.py file, include Djoser’s URLs for authentication:
from django.contrib import admin
from django.urls import path, include

urlpatterns = [
    path("admin/", admin.site.urls),
    path("auth/", include("djoser.urls")),
    path("auth/", include("djoser.urls.jwt")),
]
Create a new Django app called core to define a custom user model using email as the unique identifier.
python manage.py startapp core
Add "core.apps.CoreConfig" to INSTALLED_APPS in settings.py.
INSTALLED_APPS = [
    ...,
    "core.apps.CoreConfig",
]
In core/models.py, define the custom user model by extending Django’s AbstractUser:
from django.contrib.auth.models import AbstractUser
from django.db import models
from .managers import CustomUserManager


class CustomUser(AbstractUser):
    email = models.EmailField(unique=True)
    username = models.CharField(max_length=150, blank=True, null=True)

    USERNAME_FIELD = "email"
    REQUIRED_FIELDS = []

    objects = CustomUserManager()
managers.py)In core/managers.py, define the custom user manager:
from django.contrib.auth.models import BaseUserManager

class CustomUserManager(BaseUserManager):
    def create_user(self, email, password=None, **extra_fields):
        if not email:
            raise ValueError("The Email field must be set")
        email = self.normalize_email(email)
        user = self.model(email=email, **extra_fields)
        user.set_password(password)
        user.save(using=self._db)
        return user

    def create_superuser(self, email, password=None, **extra_fields):
        extra_fields.setdefault("is_staff", True)
        extra_fields.setdefault("is_superuser", True)

        if extra_fields.get("is_staff") is not True:
            raise ValueError("Superuser must have is_staff=True.")
        if extra_fields.get("is_superuser") is not True:
            raise ValueError("Superuser must have is_superuser=True.")

        return self.create_user(email, password, **extra_fields)
In core/serializers.py:
from djoser.serializers import UserCreateSerializer, UserSerializer
from .models import CustomUser


class CustomUserCreateSerializer(UserCreateSerializer):
    class Meta(UserCreateSerializer.Meta):
        model = CustomUser
        fields = ("id", "email", "username", "first_name", "last_name", "password")


class CustomUserSerializer(UserSerializer):
    class Meta(UserSerializer.Meta):
        model = CustomUser
        fields = ("id", "email", "username", "first_name", "last_name")

    def create(self, validated_data):
        user = CustomUser(**validated_data)
        user.is_active = False
        user.save()
        return user
In core/admin.py:
from django.contrib import admin
from .models import CustomUser


class NormalUser(CustomUser):
    class Meta:
        proxy = True


class StaffUser(CustomUser):
    class Meta:
        proxy = True


class NormalUserAdmin(admin.ModelAdmin):
    list_display = ["email", "first_name", "last_name", "is_active"]
    list_filter = ["is_active"]
    search_fields = ["email", "first_name", "last_name"]
    ordering = ["email"]
    readonly_fields = [
        "email",
        "password",
        "first_name",
        "last_name",
        "is_active",
        "last_login",
        "date_joined",
    ]


    fieldsets = (
        (
            None,
            {
                "fields": (
                    "email",
                    "password",
                    "first_name",
                    "last_name",
                    "is_active",
                    "date_joined",
                    "last_login",
                )
            },
        ),
        (
            "Staff Status",
            {
                "fields": ("is_staff",),
            },
        ),
    )

    def get_queryset(self, request):
        return super().get_queryset(request).filter(is_staff=False)

    def make_staff(self, request, queryset):
        """Custom action to make selected users staff."""
        queryset.update(is_staff=True)

    make_staff.short_description = "Make selected users staff"

    actions = [make_staff]


class StaffUserAdmin(admin.ModelAdmin):
    list_display = ["email", "first_name", "last_name", "is_active"]
    list_filter = ["is_active"]
    search_fields = ["email", "first_name", "last_name"]
    ordering = ["email"]
    readonly_fields = [
        "email",
        "password",
        "username",
        "first_name",
        "last_name",
        "is_active",
        "last_login",
        "date_joined",
    ]

    def get_queryset(self, request):
        return super().get_queryset(request).filter(is_staff=True)


admin.site.register(NormalUser, NormalUserAdmin)
admin.site.register(StaffUser, StaffUserAdmin)
In settings.py, specify the custom user model:
AUTH_USER_MODEL = "core.CustomUser"
Run migrations to apply changes:
python manage.py makemigrations
python manage.py migrate
Create a superuser to access the admin interface:
python manage.py createsuperuser
Run the server to test your setup:
python manage.py runserver
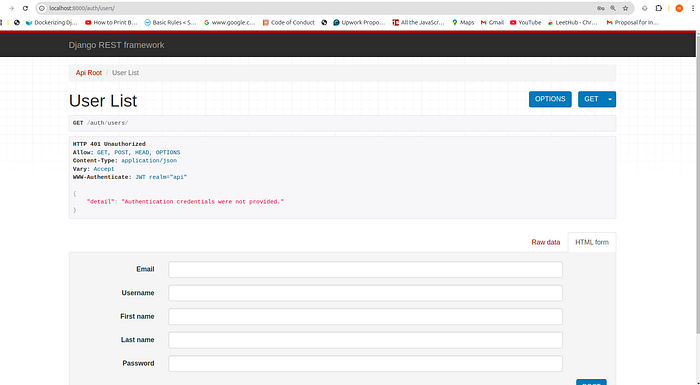
http://localhost:8000/auth

Congratulations! You should now have a fully functioning API for authentication with email activation, as well as password reset and change capabilities. Make sure your email configuration is set up correctly. iFor more guidance on configuring email, you may find additional tutorials helpful.For those looking to integrate this API with a frontend built using React and TypeScript, check out this GitHub repository for a fully working of backend and frontend example.
If this setup doesn’t work for you, feel free to reach out to me at melakushiferaw05@gmail.com. I’m a software developer and co-founder of Msigana Technologies (msigana.com). For questions, projects, or collaboration opportunities, we’d love to connect. Visit us at msigana.com, or contact me via WhatsApp at +251995030326.
Copyright ©